
The exterior of your home is a beautiful reflection of the life happening inside, but it is also a highly engineered shield under constant attack. Every single day, your property stands firm against a relentless barrage of environmental forces. Punishing ultraviolet rays bake your paint, driving rain tests your window seals, and freezing temperatures cause materials to expand and contract. Over time, this daily wear leads to more than just a dull, uninspiring appearance. It triggers a slow process of structural decay that can threaten the very foundation of your property investment.
Undertaking a thorough, top-to-bottom exterior deep clean and restoration is the ultimate way to halt this decay in its tracks. Far from being a superficial luxury, systematic maintenance removes destructive pollutants like organic mold, mildew, gritty dust, and acidic smog that eat away at protective coatings. By committing to a structured restoration plan, you can uncover hidden weak spots before they turn into expensive emergencies, dramatically boost your property value, and restore that proud, welcoming curb appeal. This in-depth guide provides the essential knowledge and practical steps needed to wash, repair, and revitalize every major component of your home’s exterior shell.
Washing High-Elevation Surfaces Safely Without Causing Water Damage
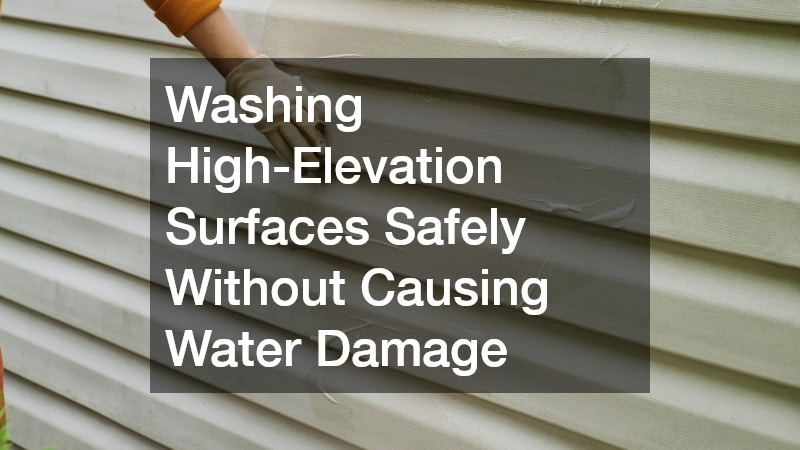
When cleaning a home, the golden rule is always to work from the top down. This ensures that dirt, grime, and cleaning solutions washed from the upper levels do not run down onto surfaces you have already scrubbed clean. However, washing high-elevation structures like upper walls and rooflines requires a careful balance between applying enough cleaning power to remove stubborn stains and protecting delicate building materials from damage.
Many well-meaning homeowners grab a high-pressure washer and blast away at their walls, only to end up forcing water deep behind their siding panels, ruining window seals, and punching holes through older wood trim. To clean your upper levels safely and effectively, you should utilize a low-pressure “soft-wash” technique combined with targeted, eco-friendly cleaning solutions. Use these actionable guidelines to prep and execute a safe, effective wash cycle:
- Select the Right Cleaning Solution: Look for biodegradable, exterior-grade cleaning solutions that are specially formulated to kill organic spores like mold, mildew, and moss at the root. Avoid harsh chlorine bleach mixes that can discolor your siding materials and poison the expensive shrubs and flowers growing along your foundation.
- Maintain the Correct Spray Angle: When rinsing your walls, always keep your spray wand pointed straight ahead or downward. Never point a pressure wand upward beneath the overlapping laps of your siding. Spraying upward forces water directly into your wall cavities, soaking your insulation and creating a perfect environment for hidden wood rot.
- Protect Your Mechanical Equipment: Before spraying any water or cleaners, shut down your outdoor HVAC compressor unit and cover it with a heavy plastic tarp. Wrap outdoor electrical outlets, decorative light fixtures, and security cameras in plastic bags secured with painter’s tape to avoid dangerous electrical shorts.
Before spraying any high-strength chemical solution near your gutters, consult with a certified residential roofing company to ensure the cleaner won’t strip the protective granules off your shingles. These tiny granules provide vital UV protection, and losing them will cause your roof to degrade quickly. Homeowners dealing with multi-story properties or delicate historic materials often hire specialized roof and house washing companies to handle the high-elevation work safely. Bringing in professionals ensures the job gets done using specialized low-pressure equipment, keeping your home’s primary defenses completely safe from water damage.
Vetting and Repairing Roof Systems Post-Winter
Once the upper surfaces have been thoroughly cleared of dirt and grime, you can shift your attention to structural maintenance. Winter is incredibly tough on a roof, as heavy snow loads, freezing ice dams, and high winds test every shingle and joint. When spring arrives and clears away the winter debris, it often reveals hidden vulnerabilities that require immediate attention. Catching these problems early prevents minor water leaks from rotting your underlying wood deck and destroying your attic insulation.
Conducting a safe, detailed roof inspection from the ground using high-powered binoculars is the best way to spot potential trouble spots. Keep a close eye out for these clear warning signs during your seasonal check:
- Clear Out Debris Accumulation: Check your roof valleys, areas behind chimneys, and gutter troughs for piles of damp leaves, twigs, and pine needles. This organic debris acts like a sponge, trapping moisture directly against your shingles and rotting the wood sheathing beneath. Clear these blockages completely to allow storm runoff to flow freely.
- Inspect Plumbing Boot Seals: Look closely at the flexible rubber seals wrapped around the base of your plumbing vent pipes. These rubber boots are exposed to direct sunlight all year long, causing them to crack, rot, and split over time. Replacing a brittle boot seal takes only a few minutes but prevents major ceiling leaks.
- Scan for Fastener Failures: Look along the edges of your roof trim and flashing panels for loose, backed-out, or rusted screws and nails. If a fastener pops up, it lifts the protective metal trim away from the house, creating an open gateway for wind uplift and driving rain.
If your visual inspection reveals deep cracks in your valley sealants, call in a trusted local roofer to perform a targeted safety evaluation. They have the specialized training and safety harnesses needed to walk steep slopes and find subtle entry points that untrained eyes easily miss. Addressing isolated flashing failures immediately with a prompt roof repair keeps water out of your attic and avoids a catastrophic ceiling collapse later, keeping your home tight, safe, and dry.
Deep Clean and Revitalize Fabricated Wall Cladding
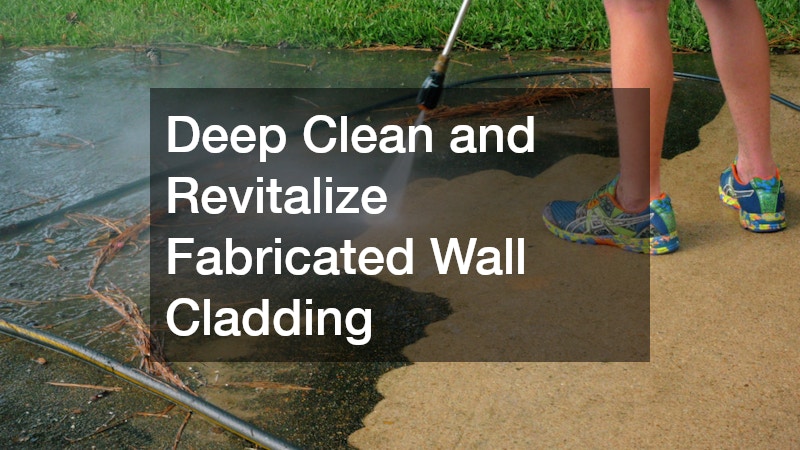
Your home’s wall cladding is its largest visible feature, making its condition the primary driver of your property’s curb appeal. Over the course of a year, siding panels collect a thick layer of dust, road grime, pollen, and green algae. If left uncleaned, this buildup can permanently stain the facade and cause older, painted surfaces to pit and peel. Restoring the bright, clean finish of your siding requires a delicate touch that matches the specific material substrate of your walls.
Whether your home features modern vinyl panels, classic wood boards, or high-end composite materials, using the right tools makes all the difference. Follow these step-by-step restoration practices to refresh your walls without scratching or cracking them:
- Remove Oxidation Layer Film: Vinyl siding often develops a chalky, white oxidation film due to sun exposure. To clear this away, use a long-handled, soft-bristle extension brush along with a bucket of warm water mixed with a specialized vinyl cleaner. Scrub gently in horizontal strokes, working in small sections, and rinse thoroughly before the soap dries.
- Scrub Fiber Cement Materials Safely: For fiber cement siding, avoid stiff wire brushes or abrasive scouring pads that can scratch the baked-on color finish. Instead, use a soft microfiber cloth or a low-pressure garden hose attachment to break loose dirt and spiderweb encrustations without marring the surface.
- Evaluate Faded and Chalking Finishes: If you find areas where the paint is flaking, bubbling, or rubbing off like chalk onto your fingertips, washing alone won’t solve the problem. These sections must be carefully scraped down, treated with an exterior primer, and coated with a premium paint to restore their weather protection.
If you notice major structural buckling or unlatched panels during your wash, a professional siding contractor should evaluate the structural sheathing underneath to check for hidden moisture damage. For homes built with high-end fiber cement claddings, precision care is especially vital. When working with premium fiber cement products, matching your cleaning process with the guidelines of an approved James Hardie siding company preserves your long-term product warranty, ensuring your home’s exterior remains beautiful and fully protected for decades.
Assessing Long-Term Structural Needs and Total Surface Overhauls
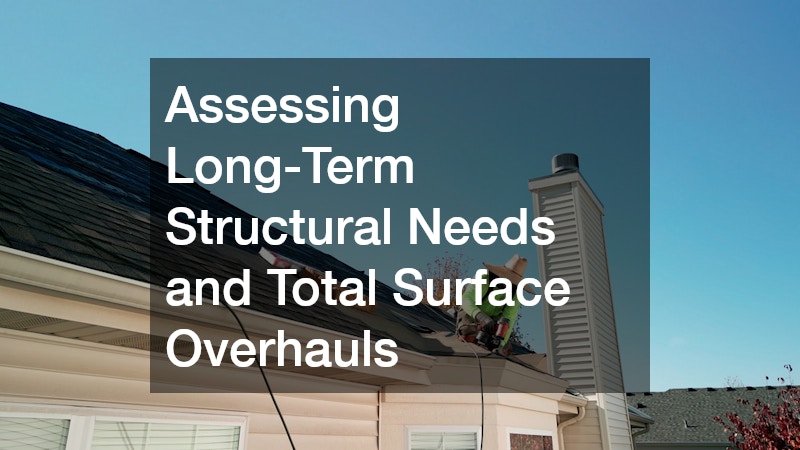
While routine deep cleaning and minor maintenance can work wonders, every exterior material eventually reaches a point where it can no longer be restored. Shingles dry out and drop their granules, siding panels become brittle and crack from UV exposure, and old wood trim rots away. As a homeowner, you must be able to recognize the threshold where ongoing patch jobs are no longer cost-effective, and a complete material replacement becomes necessary.
Continuing to pour money into temporary fixes on a worn-out exterior system is a losing battle that can compromise the structural safety of your home. Use these benchmarks to determine if it is time to move past cleaning and plan a comprehensive system upgrade:
- Apply the Twenty-Year Rule: Most standard architectural shingles and vinyl siding materials are engineered to last between twenty and twenty-five years. If your home’s exterior components are approaching or passing this mark, they are likely suffering from systemic material breakdown, making replacement the smartest choice.
- Evaluate Modern Structural Options: When planning a full overhaul, research modern, high-performance materials that offer superior energy efficiency and storm resistance. Look into standing-seam metal panels, engineered wood siding, or advanced composite shingles that carry long-term performance ratings.
- Sequence Your Renovation Steps Wisely: If you are planning multiple upgrades, map out the project timeline carefully. Always schedule heavy structural tear-offs first so that secondary installation crews do not accidentally trample or damage your brand-new siding, windows, or gutters.
If you are looking to permanently upgrade your home’s storm resistance, a reputable metal roofing company can design a highly durable, recyclable system that sheds snow, reflects solar heat, and lasts a lifetime. Modern, energy-efficient roof installations use advanced radiant barriers to bounce solar heat away from your living space, lowering cooling bills and reducing your home’s environmental footprint while providing unmatched protection against severe weather.
Harmonizing Structural Lifespans With Ground-Level Restorations

A complete exterior restoration should never stop at the baseboards of your house. True curb appeal and property protection require your home’s primary protective shell to match the condition of your surrounding property and landscaping. When large construction crews finish working on a house, they often leave behind compacted soil, damaged lawn lines, and broken tree branches that can ruin the look of your estate and cause drainage issues down the road.
To finish your property transformation beautifully, you must coordinate your structural upgrades with thoughtful ground-level landscaping and restoration. Integrate these practical property-wide restoration steps into your final maintenance phase:
- Create a Defensive Clearance Zone: Walk around your property and check the perimeter trees and heavy shrubs. Trim all tree branches back so they sit at least ten feet away from your roofline and walls. This keeps high winds from scraping branches against your shingles and prevents pests like squirrels and ants from jumping onto your house.
- Inspect Your Perimeter Ventilation: Look up at your wooden fascia boards and soffit panels to ensure your ventilation grates are clean and unblocked. Clear away any old bird nests, wasp nests, or spiderwebs that are choking your attic’s natural airflow or inviting wood-boring insect infestations.
- Restore Compacted Soil Drainage: Heavy ladders and scaffolding pack down the soil along your foundation, which traps water and can cause basement leaks. Use a garden fork to break up this compacted earth, slope the ground away from your foundation wall, and lay down fresh mulch or gravel beds to ensure clean drainage.
When planning a complete structural upgrade, an expert reroofing company will carefully strip down the old layers to reinforce the underlying wood deck, ensuring your new shield stands on a flawless foundation. After heavy equipment finishes on your driveway, hire a professional lawn care company to aerate compacted soil and reseed damaged grass lines. This final touch brings your lawn back to life, framing your freshly restored home with a lush, vibrant landscape that highlights your hard work.
Conclusion
Deep cleaning and restoring your home’s exterior is one of the most rewarding investments you can make for your property. Far from being a quick cosmetic cleanup, a systematic approach to exterior maintenance ensures that your home’s structural armor remains strong, efficient, and ready to handle whatever the weather brings. Taking care of your roof, walls, and surrounding landscaping protects your equity and keeps your utility bills low.
The secret to a successful exterior restoration lies in understanding how these different systems work together to protect your home. A clean, well-maintained roof relies on clear gutters to shed water safely, and your siding needs proper ground drainage to prevent moisture from rotting your foundation. Addressing these needs in a structured, top-to-bottom sequence allows you to maximize the lifespan of your materials and avoid costly repair surprises.
Take a clipboard and a camera outside your home this weekend to conduct your own comprehensive exterior audit. Look closely at your siding joints, inspect your roof flashing from the ground, and check your foundation lines for signs of wear. Identifying these problem areas early gives you the time and clarity to design a beautiful, long-lasting restoration plan, ensuring your home remains a safe, efficient, and welcoming haven for many years to come.